Using Winback
Getting started
- Plug in the Winback USB in your computer.
- Boot from the USB by either pressing a dedicated key or a dedicated hardware button. If you don’t know how to boot from a USB see below in this section for more information on this.
- Once you’ve booted, choose Winback USB from the boot menu/options. If you can see two options, Winback USB with UEFI or Winback USB without UEFI, choose Winback USB without UEFI.
If you don’t know how to boot your computer from a USB drive, you can do a quick search on the internet to find out the exact key you need to press( typically ESC, F1, F2, F8, F10, F12, DEL) to boot from it .You must reboot from your operating system and not by directly shutting down and powering your computer on again because that could directly take you to your operating system instead of the BIOS. If you are using UEFI secure boot, disable it and enable CSM/legacy boot from UEFI/BIOS settings.
Backup
- To back up your data, choose Backup from the Winback menu. You can also choose to label your backup here.
- To use your USB normally without using any Winback features, choose Half and Half( see Half and Half below in this section for more information).
If you wish to check if your backup was created successfully, you can:
- Restart your backup immediately: Doing so should result in zero write because there would be no difference between the image of source disk and the Winback created image. This is a foolproof way of confirming that your backup was made successfully.
- Restore immediately: Doing so should result in zero write because there would be no difference between the image of source disk and the Winback created image.
All of the above methods can determine if your backup was created successfully but restarting your backup immediately is the most efficient way of verifying your backup.
Half and Half: When you choose Half and Half, Winback lets you share its free space half and half by creating an exFAT partition which is compatible with a wide range of devices such as Windows, MAC, Linux, Android, iPad, Gaming Consoles, Cameras and your cellphone with OTG support and the right cable.
If you want to give the entire space back to Winback, simply delete the exFAT partition using any disk management tool. Winback will claim the free space automatically next time you run it.
Restore
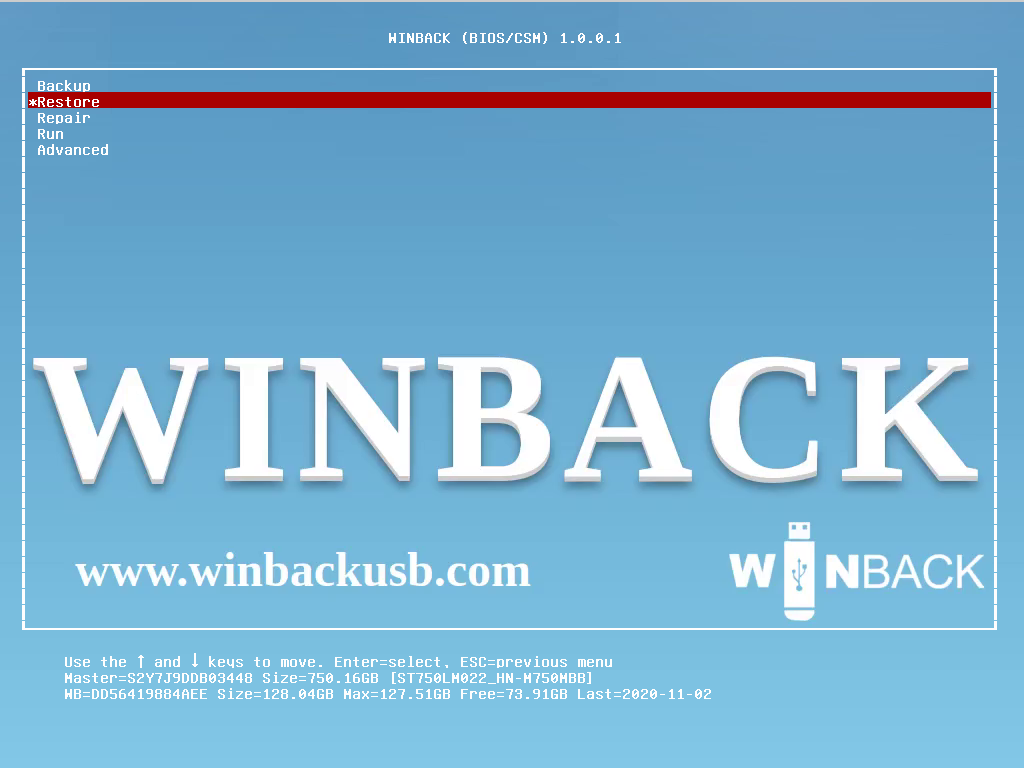
- To restore your data, repeat the first three steps in Getting Started and choose Restore from the Winback menu.
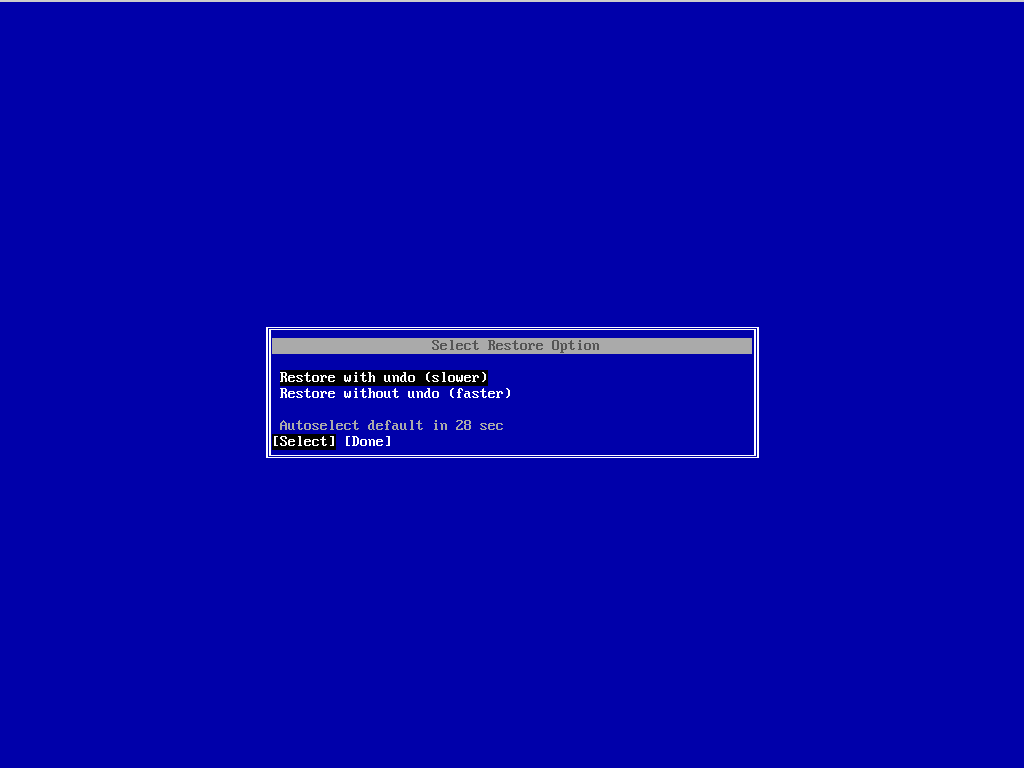
- Once you select Restore, you will be offered two options to choose from: Restore and Restore with Undo.
- Choose Restore to simply restore your last backup.
- Choose Restore with Undo to rollback Restore.
- Choose which backup you want to restore by selecting one of the checkpoints shown.
Please note that by restoring you delete anything new that you may have added to your drive since you made your last backup. It is, therefore, best to frequently make backups so the chances of you losing your data are little or none in case you choose to restore.
Clone
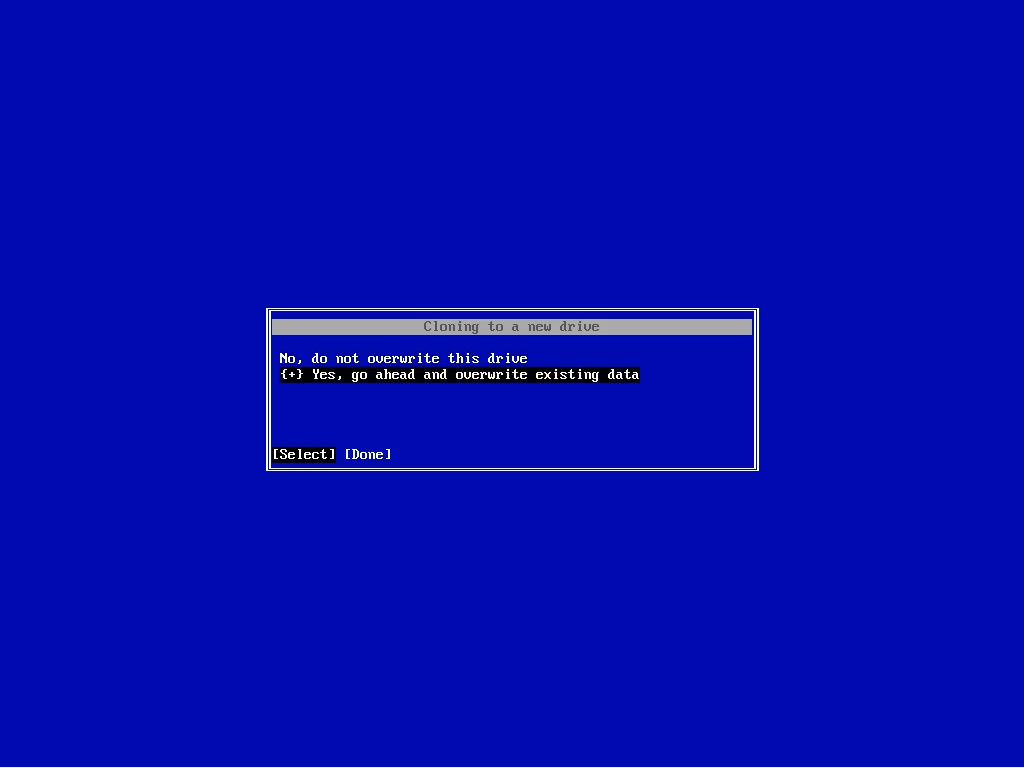
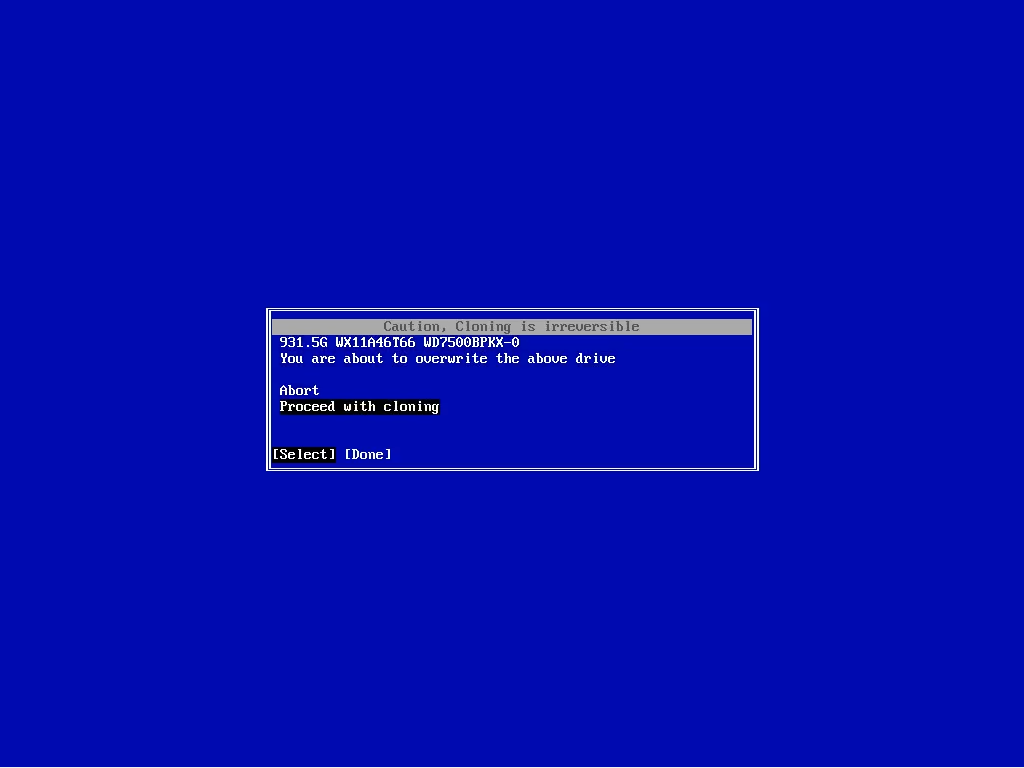
- To clone your drive, choose Restore after you have changed your original drive. WinBack will ask for your permission before cloning(because cloning is a destructive process).
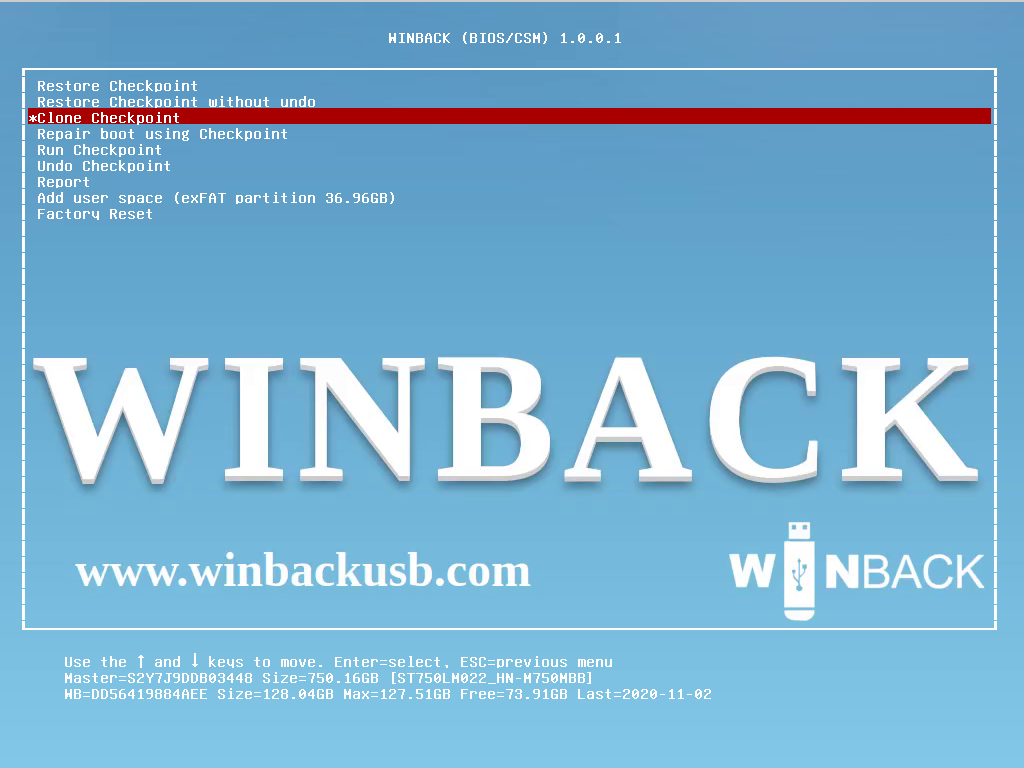
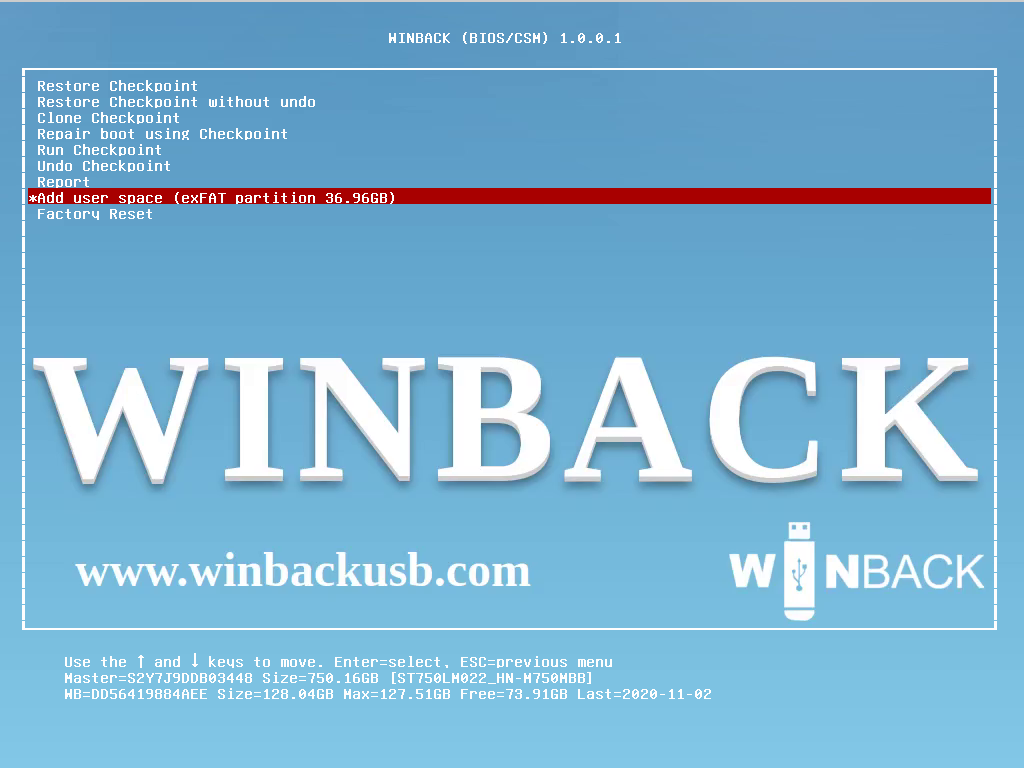
- To clone exclusively, choose Clone Checkpoint from Advanced Settings.
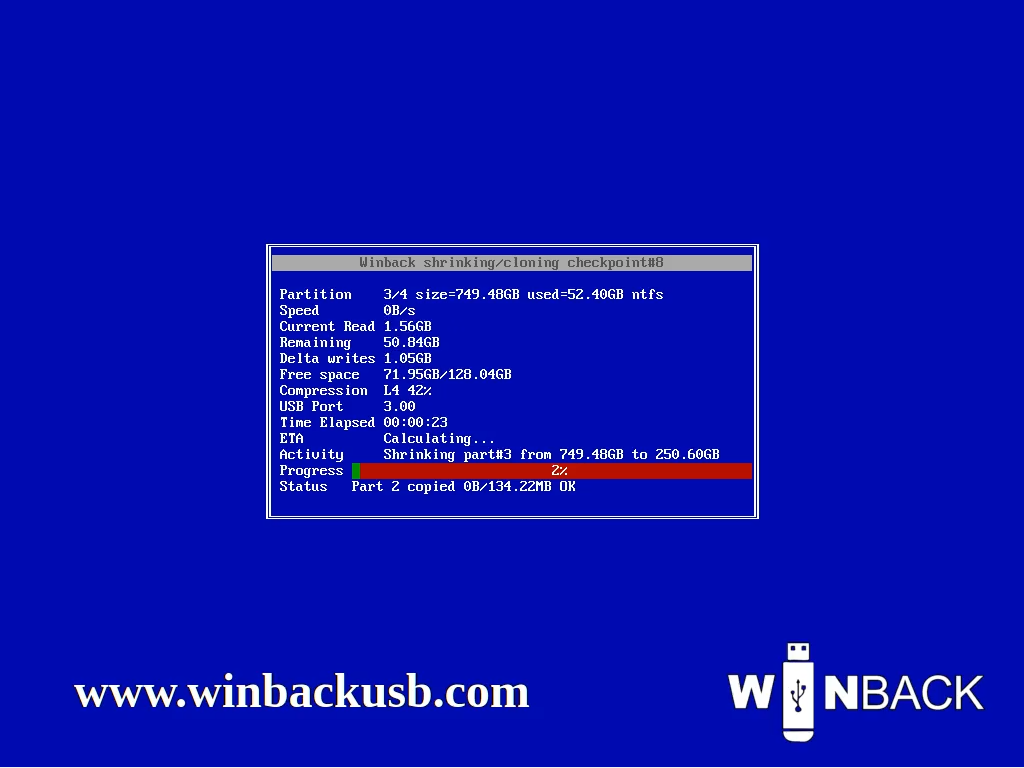
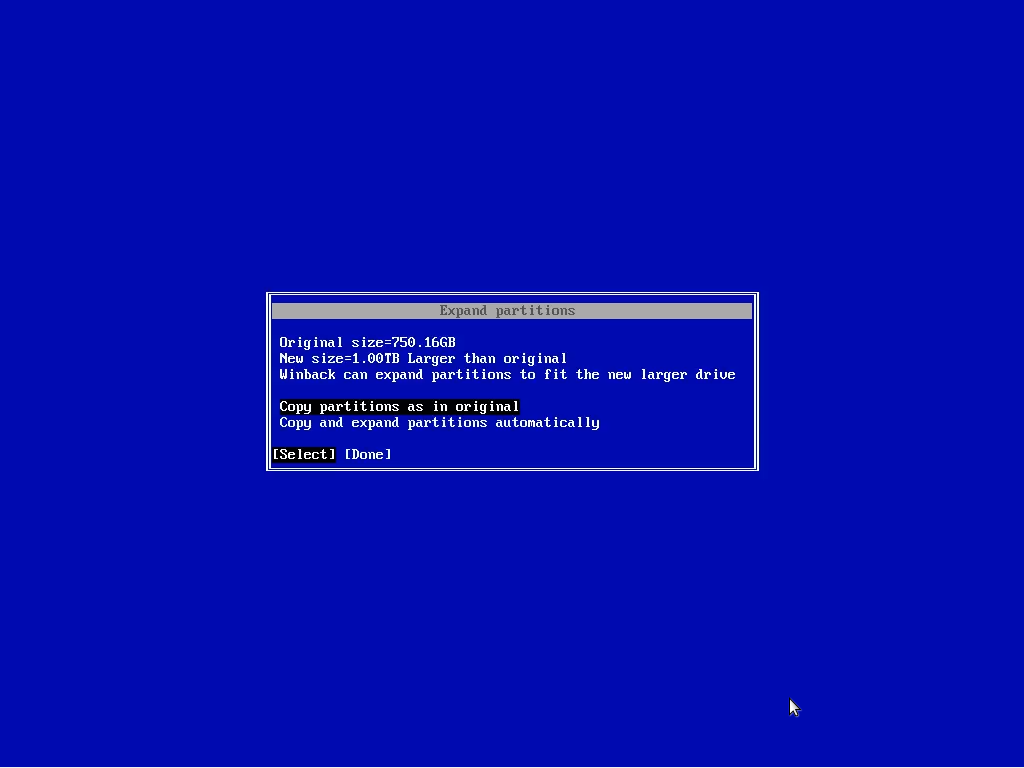
- If your new drive is smaller than your original drive, Winback shrinks the partitions automatically without affecting your original drive. If your new drive is significantly bigger than your original drive, then Winback will offer you two options: Copy partitions as in original (you can later expand the partitions manually) or copy and expand partitions automatically.
Run
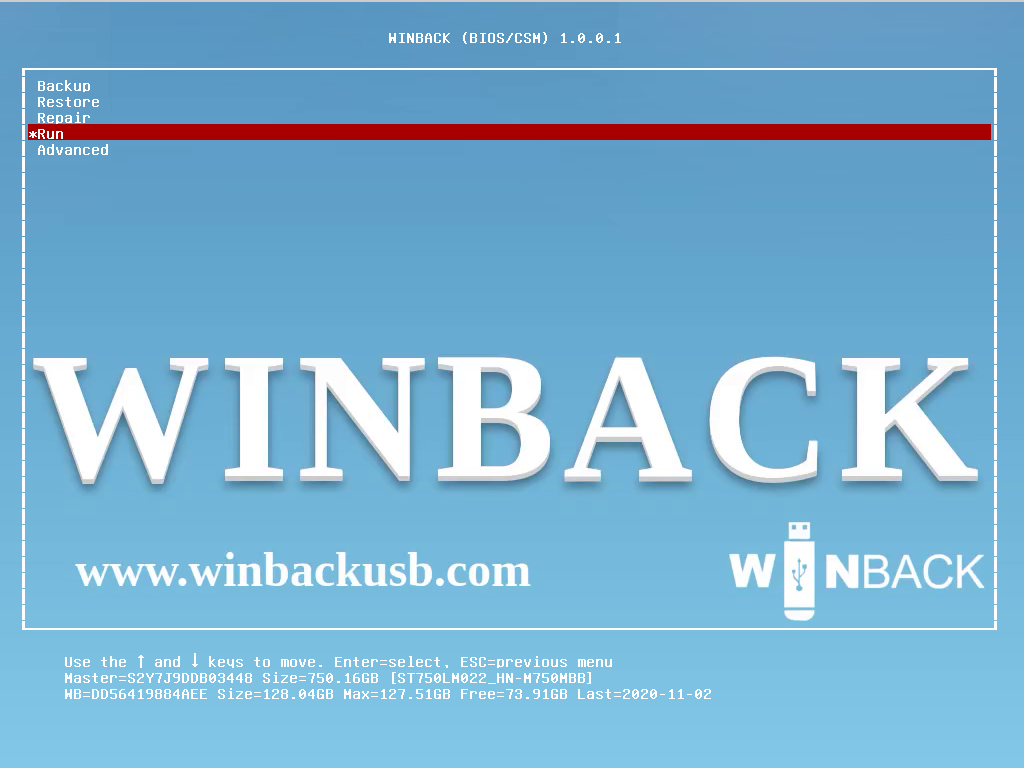
To run your last backup as a Virtual Machine (VM), choose Run. With Run you can:
- Run a checkpoint to confirm your backups.
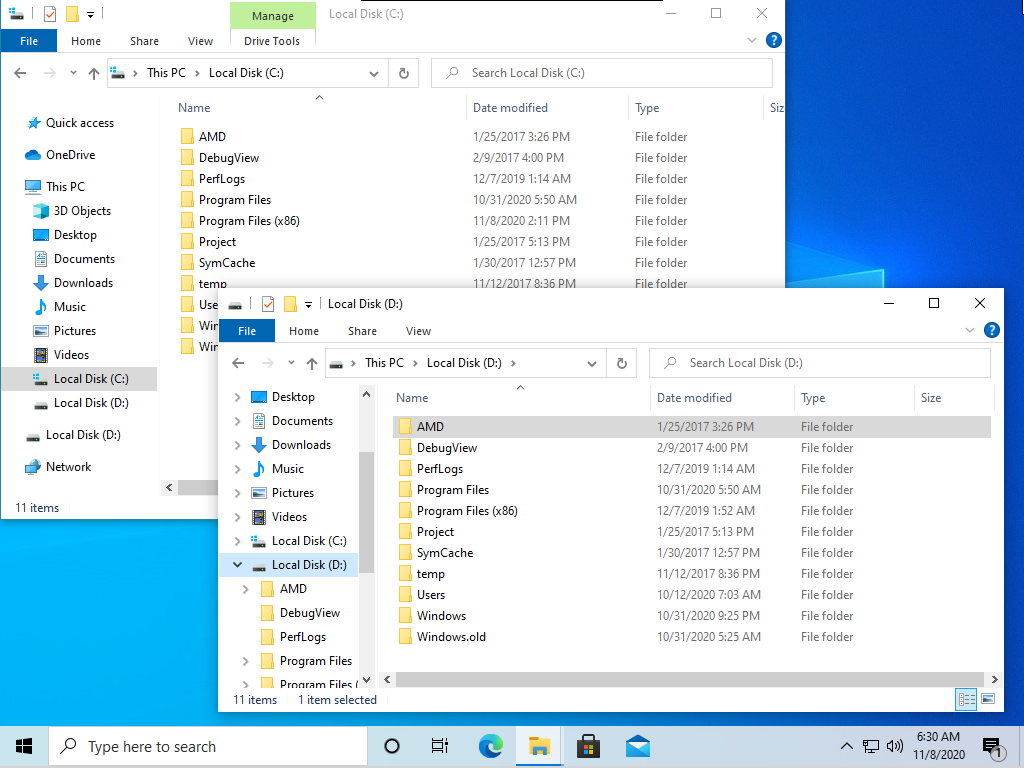
- Copy individual files from your backup to your original drive from the virtual machine.
- Immediately access not just your data but also run your O/S, apps with all your settings within your familiar environment virtually.
Run to restore individual files
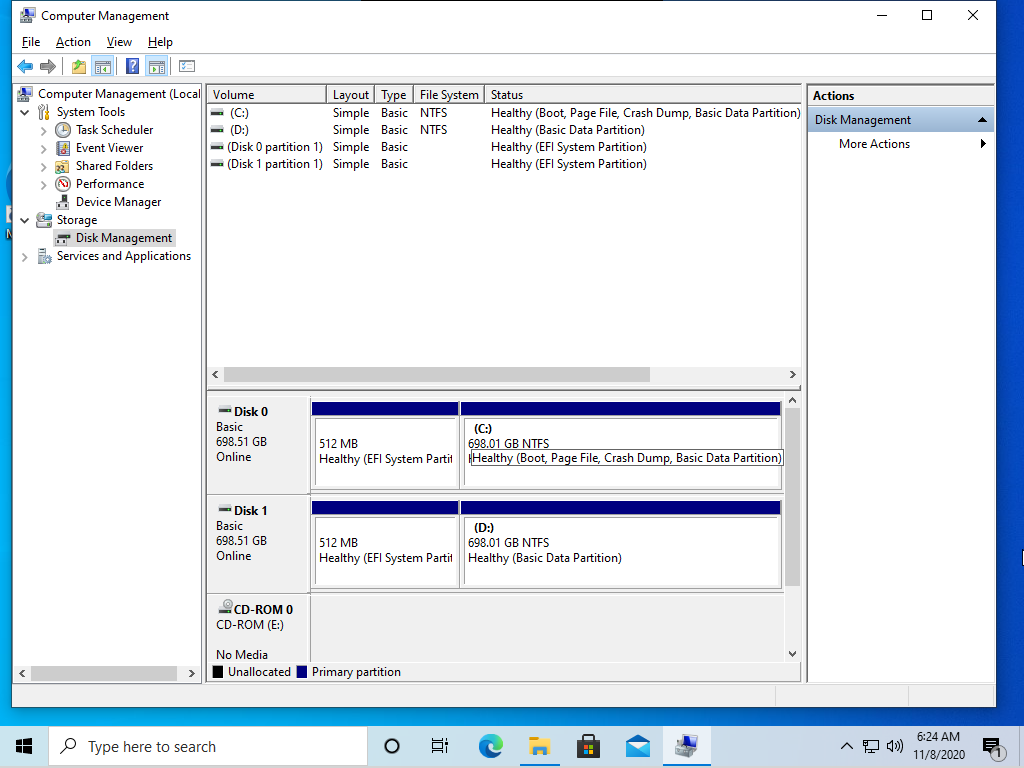
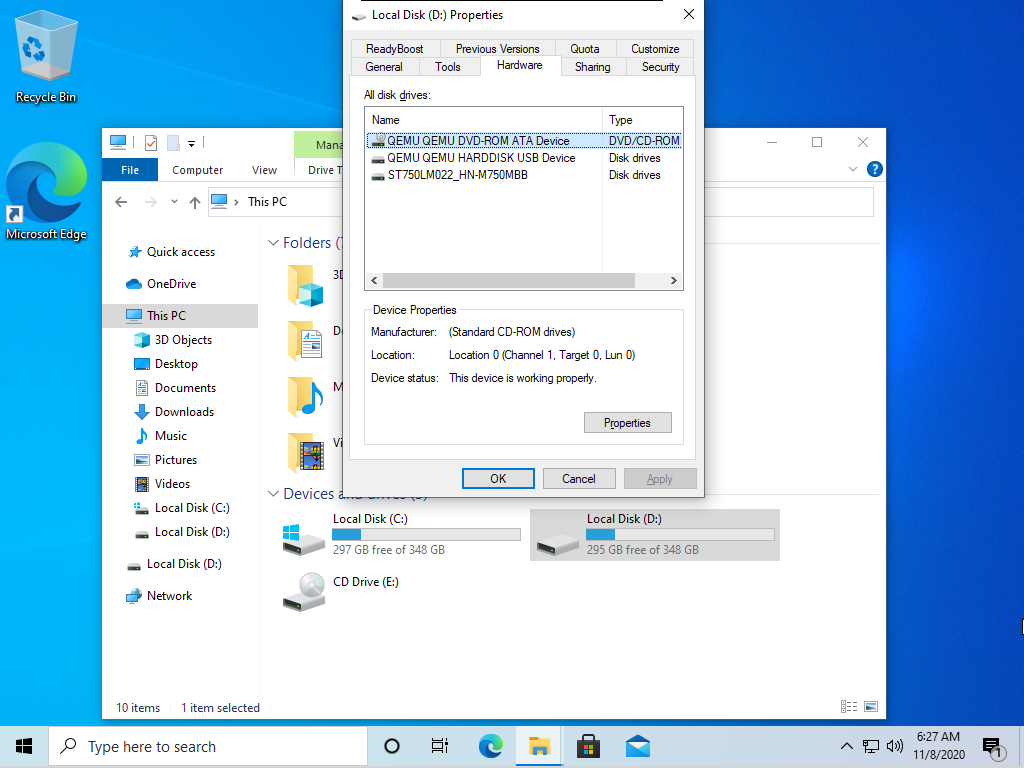
If you want to restore some files which may have gotten permanently deleted, overwritten or corrupted, you can recover them by booting Winback on the original computer and selecting Run or Run Checkpoint. Winback backup drive will appear as the main boot drive (C:) and your original drive will show up as a USB drive and will be assigned the next available drive letter ( for example, D:).
Repair boot and partition table
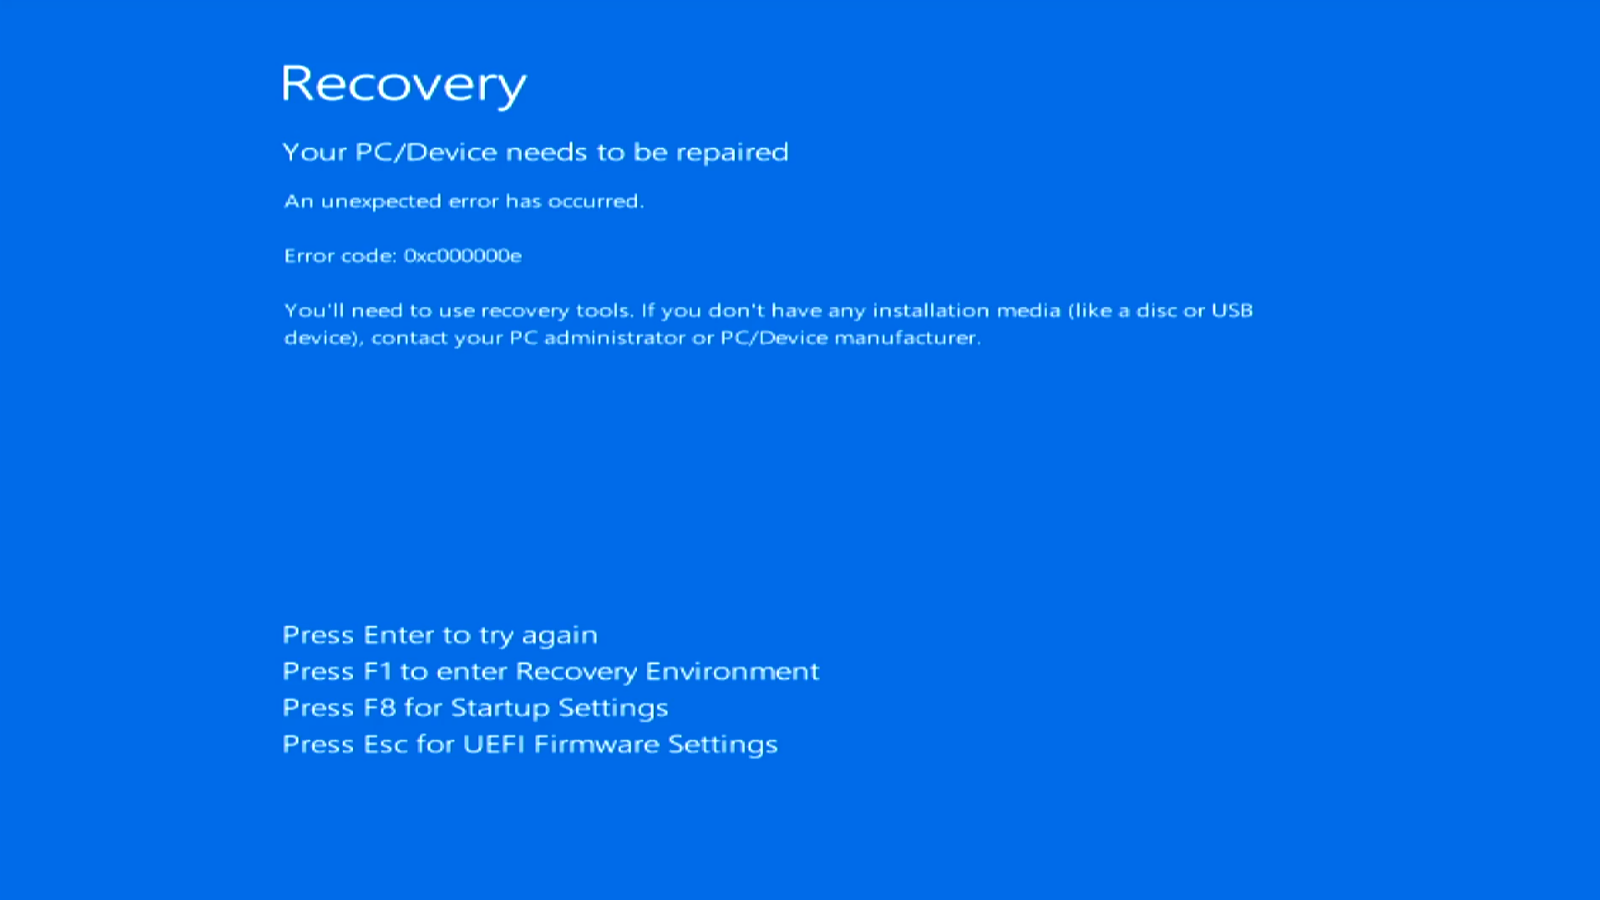
If your O/S refuses to boot, you could try repairing the partition table alone instead of having to restore the whole drive. Repairing restores any boot sector code and the partition table which could potentially fix any corrupted boot configuration data, allowing Windows to boot.
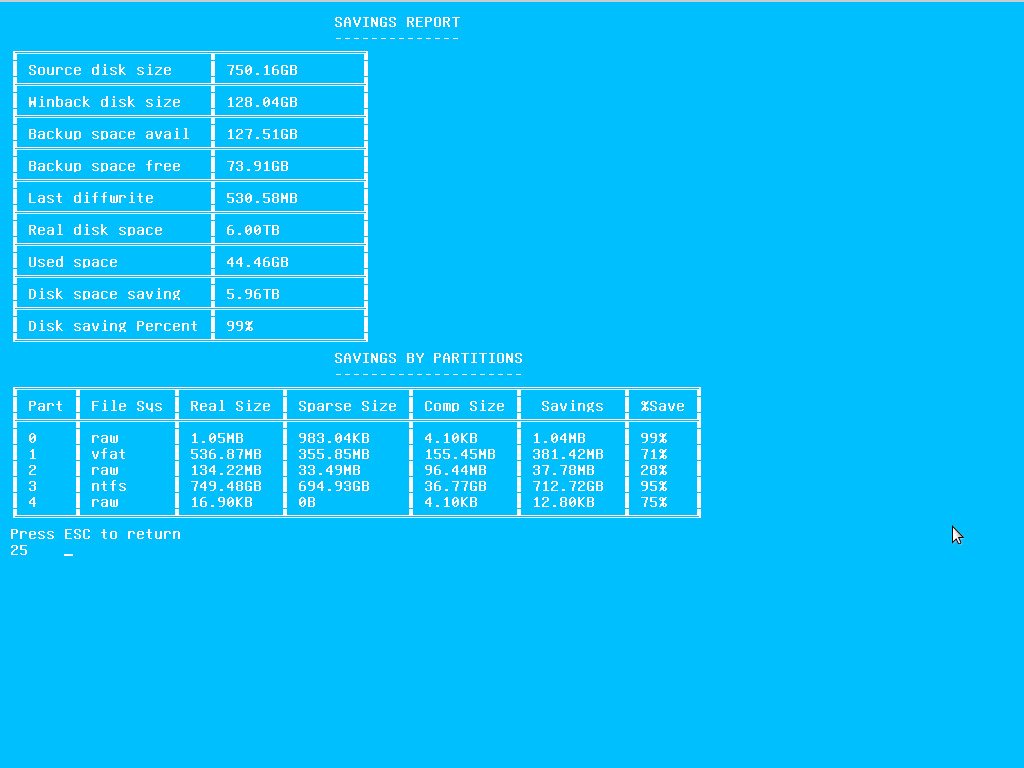
Savings Report
This dumps a text screen with stats of how much space you have saved by compressing the drive and by storing empty spaces as metadata that does not consume and data space.
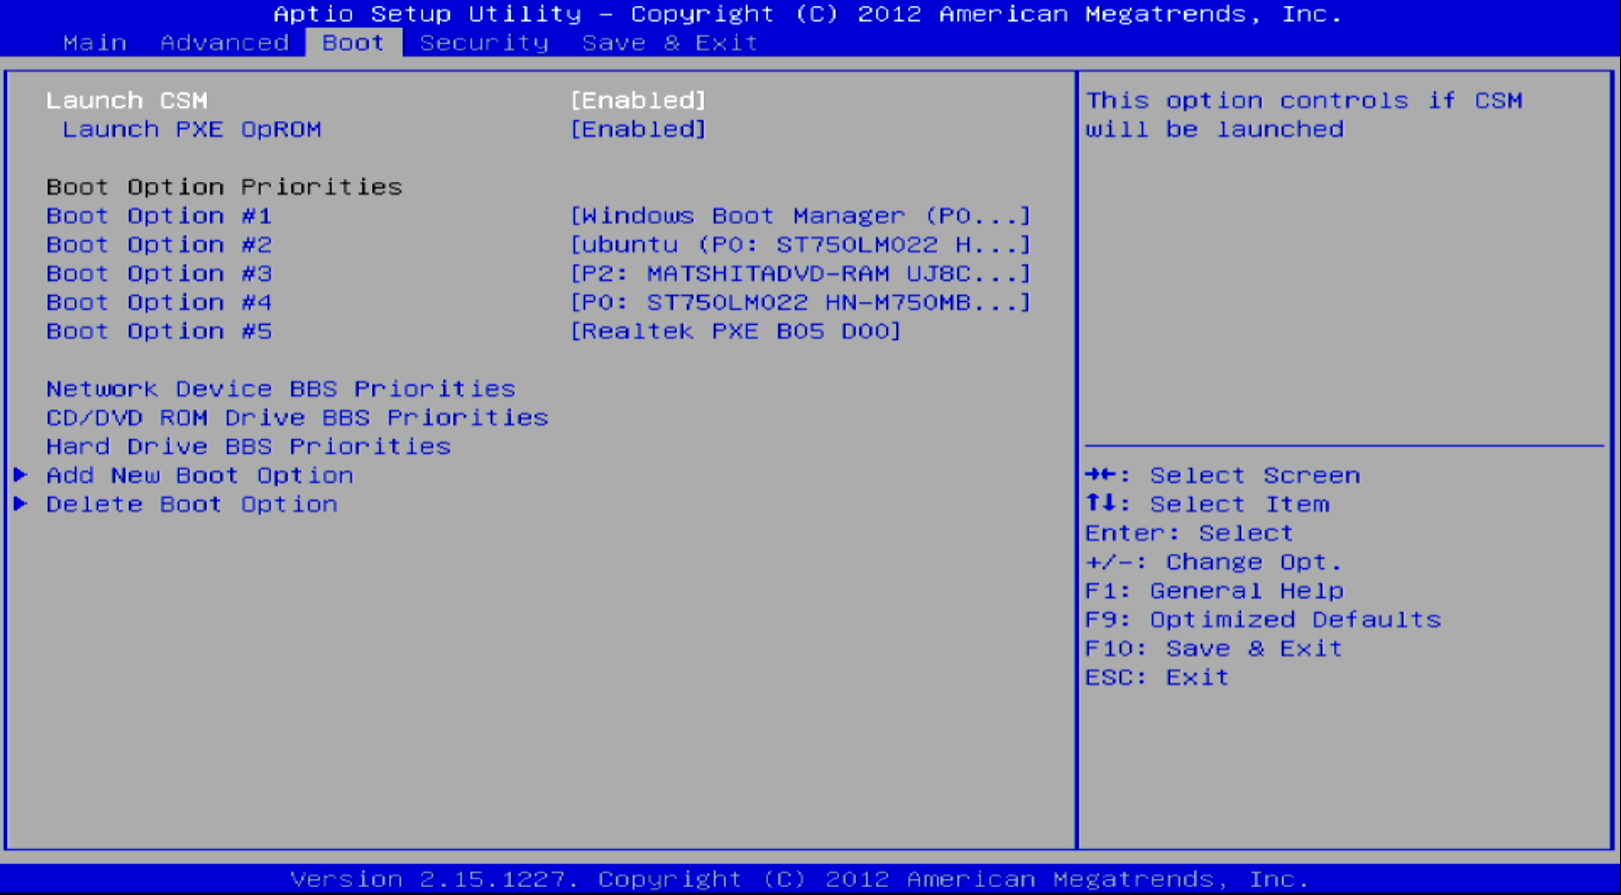
Click/pinch picture to enlarge
This is how a typical BIOS/UEFI boot from device menu looks like

Click/pinch picture to enlarge
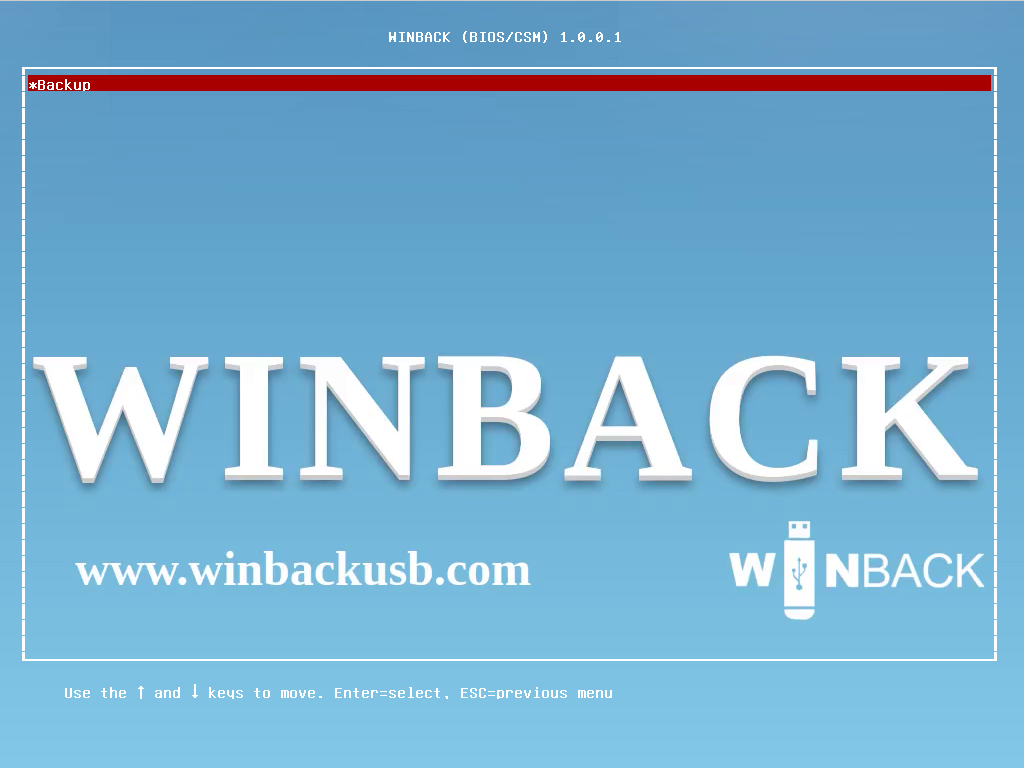
Click/pinch picture to enlarge
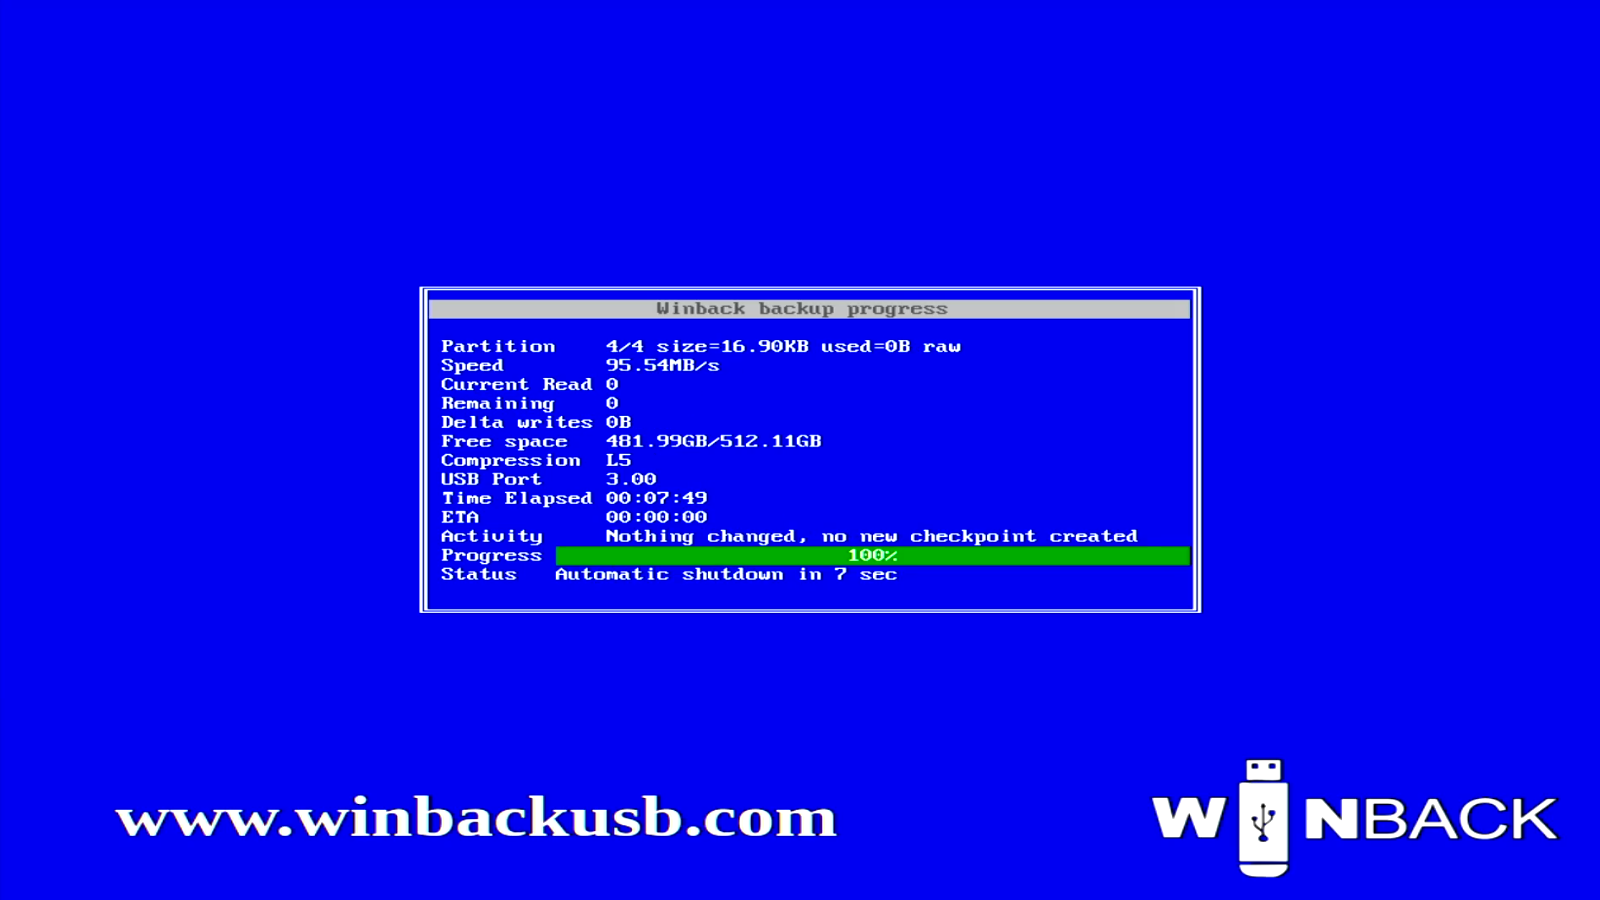
Click/pinch picture to enlarge
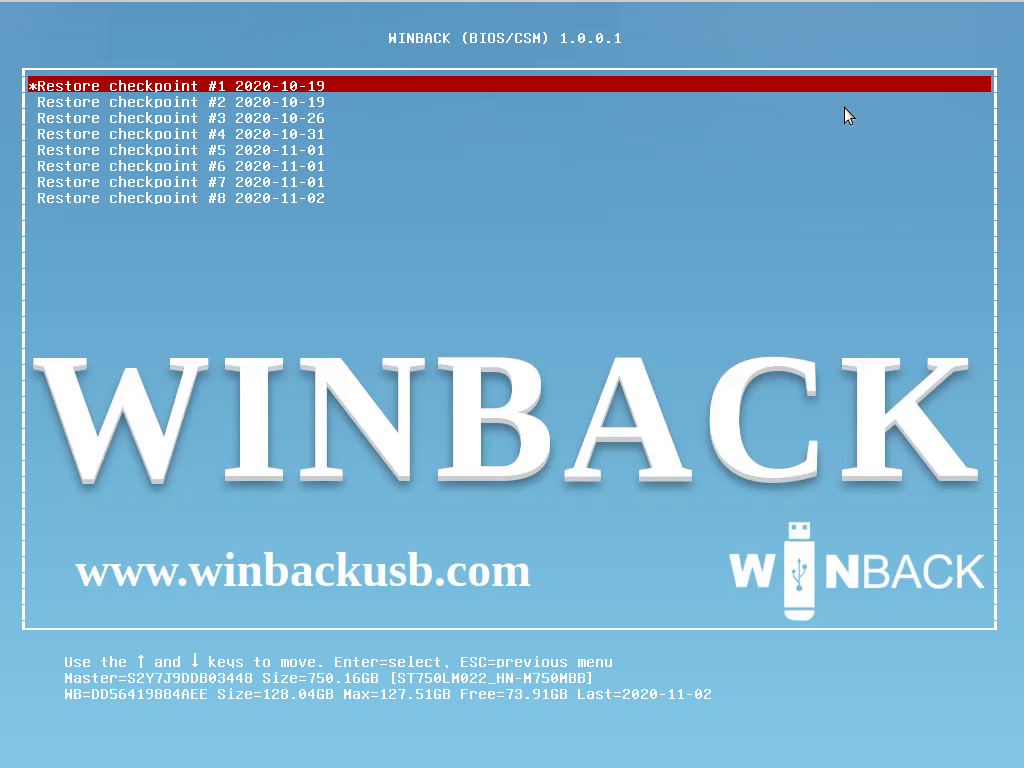
Click/pinch picture to enlarge
Click/pinch picture to enlarge
Click/pinch picture to enlarge

Click/pinch picture to enlarge
Click/pinch picture to enlarge
Click/pinch picture to enlarge
Click/pinch picture to enlarge
Click/pinch picture to enlarge
Click/pinch picture to enlarge
C
Click/pinch picture to enlarge
Click/pinch picture to enlarge
Click/pinch picture to enlarge
Click/pinch picture to enlarge
You can easily copy files from your backup to your original drive using file explorer.
Click/pinch picture to enlarge
Click/pinch picture to enlarge
C
Click/pinch picture to enlar
